illustrate#
First of all, thank you for purchasing the Versal development board produced by Xinyi Electronic Technology (Shanghai) Co., Ltd.! Your support and trust in us and our products gives us the confidence and courage to move forward.
This tutorial is part of the FPGA and bare metal tutorial. Through continuous practice, you can master the basic process of FPGA and bare metal development. Although it does not explain many major principles, practice makes perfect. Practice more and gradually master the secrets.
Preparation work and precautions#
Software Environment#
The software development environment is based on Vivado 2023.2
Hardware environment#
Development board model |
Chip model |
VD100 |
xcve2302-sfva784-1LP-es |
Script to create Vivado project#
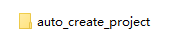
There is a script to generate vivado under each project, which is used to rebuild the vivado project. There are two methods to use. One is to use the batch file and right-click to edit create_project.bat
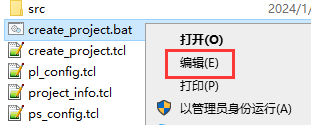
Change the path to the vivado installation path on your computer, save it, and then double-click to generate the vivado project.

The second method is to open the vivado software, first use the cd command to enter the auto_create_project directory, and then run source ./create_project.tcl command.
Script to create Vitis project#
Since the Vitis project takes up a lot of space after compilation, in order to save everyone’s precious time, we provide the python script of the Vitis project. There is a vitis folder under each project, which contains the hardware description file xx.xsa, and the automatic Script to create project
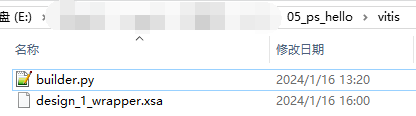
What you need to do is to right-click on the builder.py file and change the vitis path to the installation path of your computer.

After saving, open the vitis software
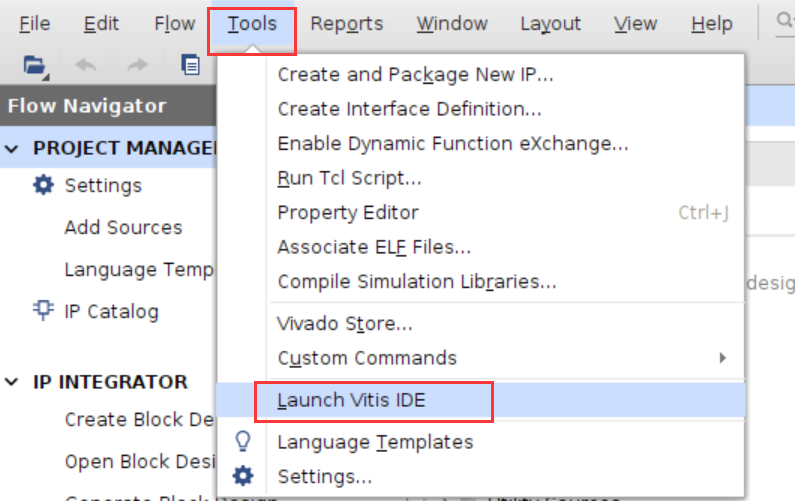
Open a new terminal

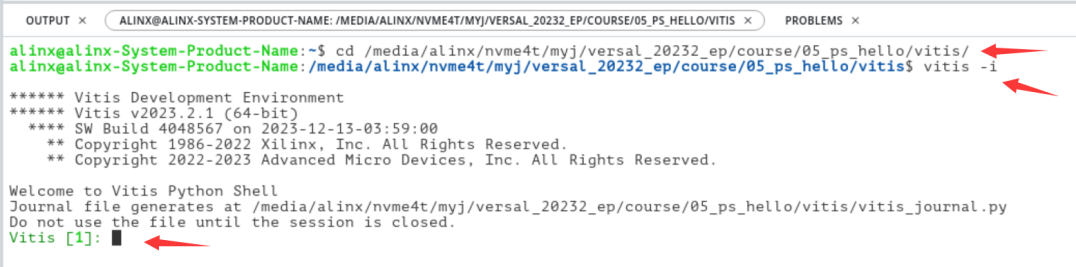
Use the cd command to enter the vitis project path, and enter vitis -i to enter the vitis CLI.
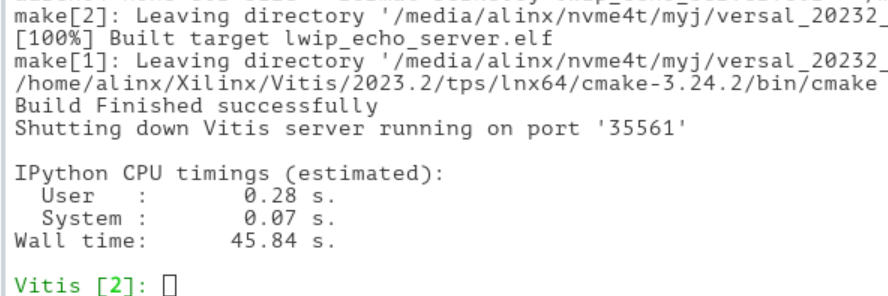
Type run -t builder.py and press Enter

Creation completed
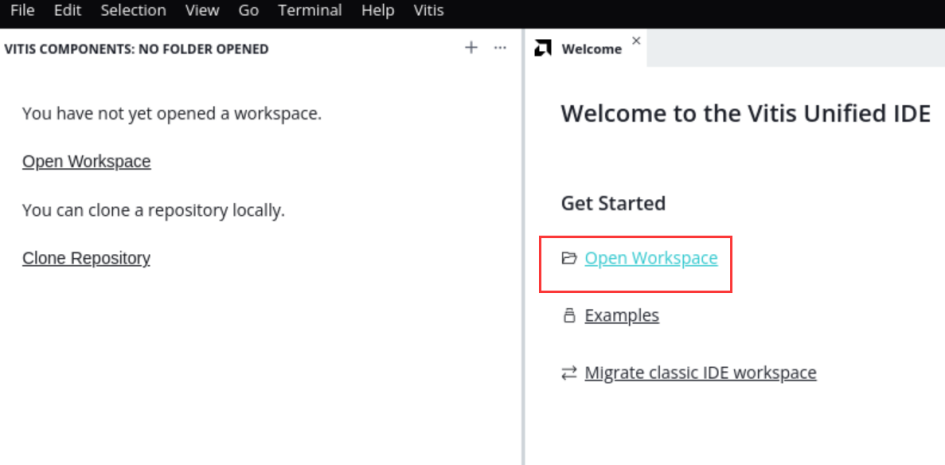
Click Open Workspace to switch to the vitis working directory
You can see the created project
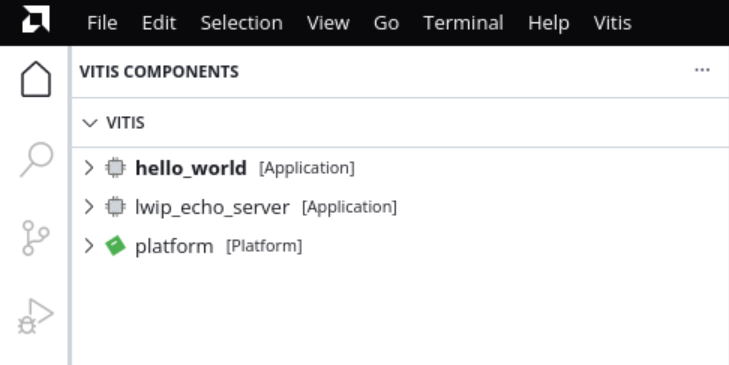
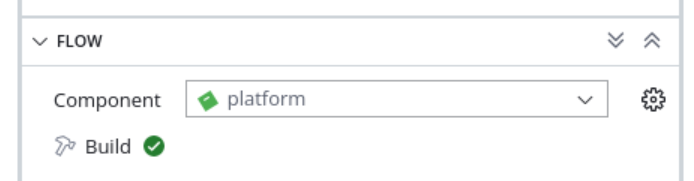
At this time, the APP project and platform may not be related well, and they need to be related manually. You can compile the platform first.
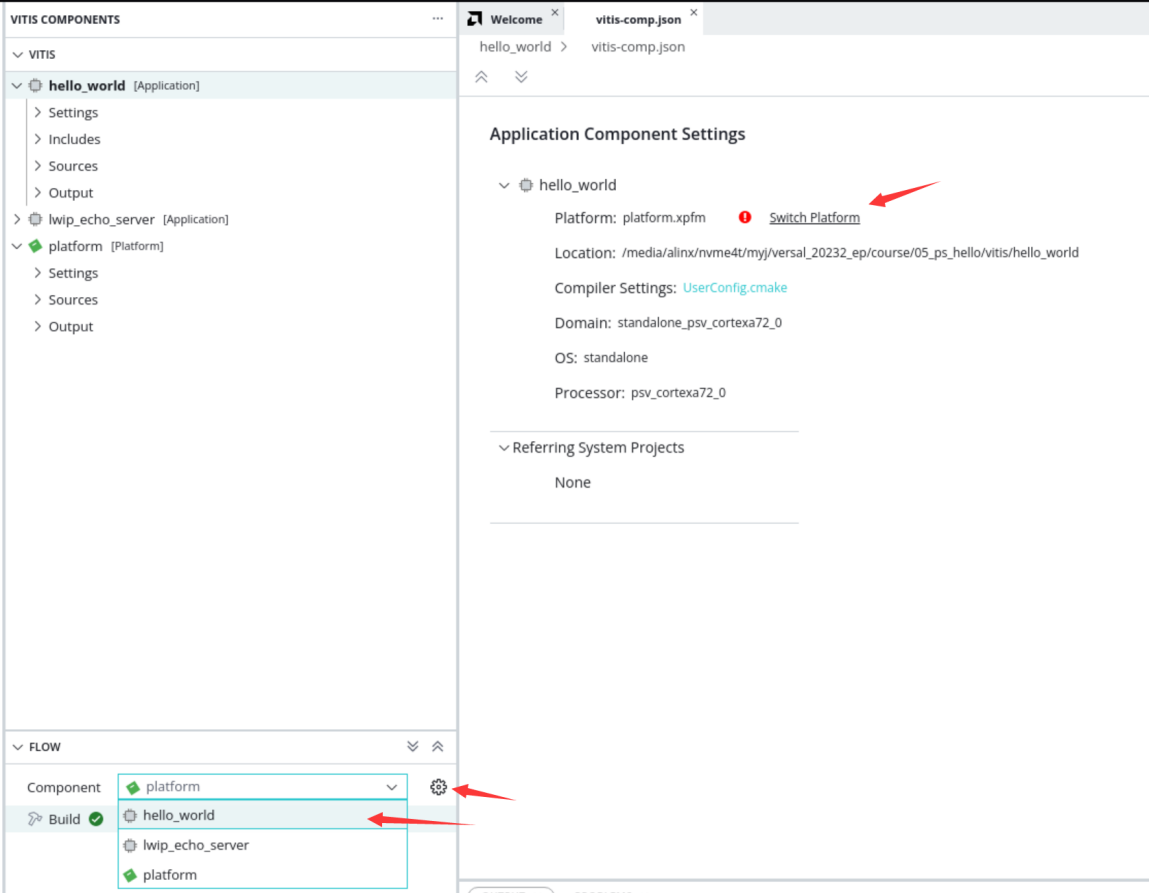
Select component, click settings, click switch platform
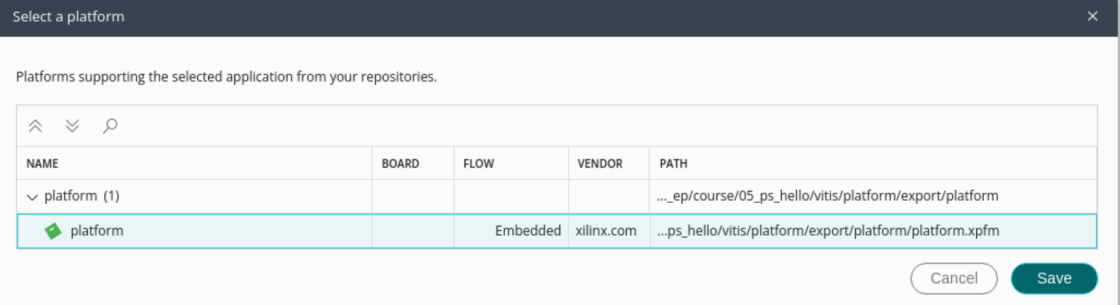
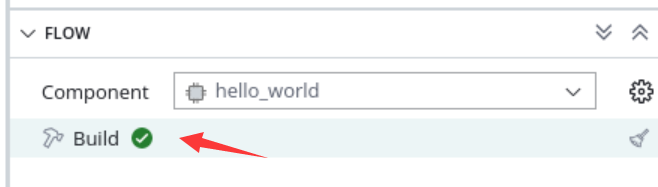
Build the project again and you can use it