Chapter 7 MIPI Camera#
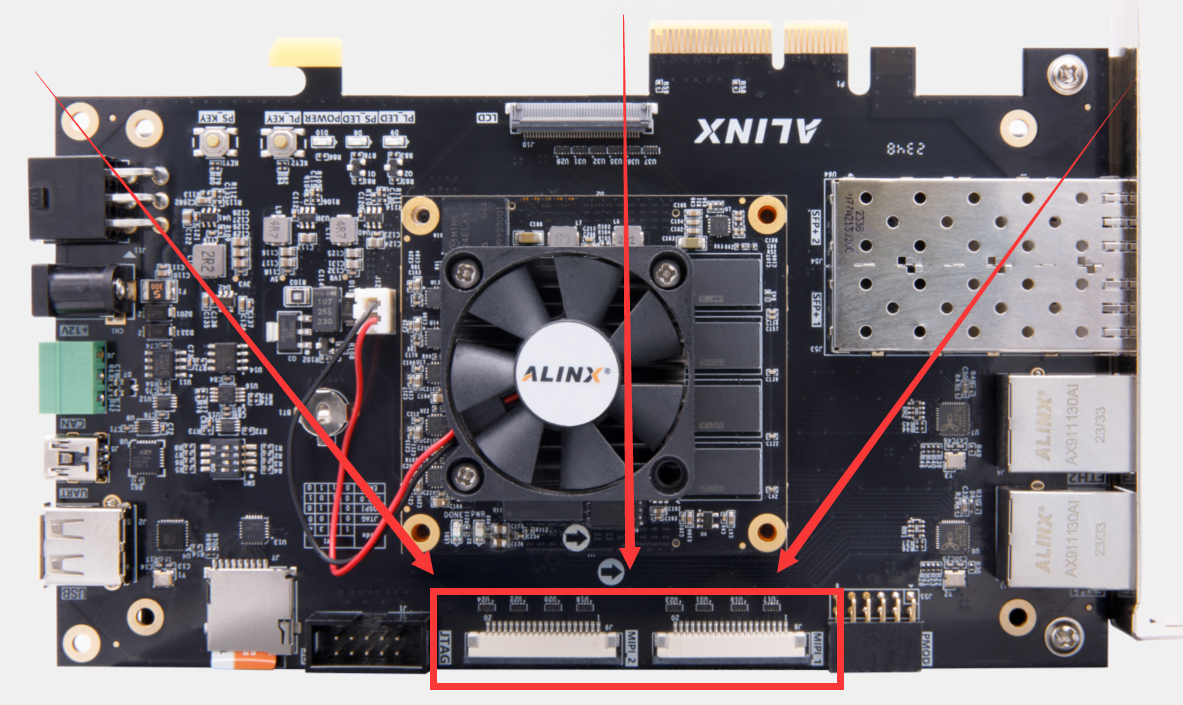
- The MIPI camera interface is in this position on the VD100 development board:
- After the MIPI camera is connected, the status is as follows:

Display the MIPI camera in the Linux system of the development board#
- | STEP1: After the system is started and logged in, call the initialization script to initialize the IP related to the MIPI camera |
cd ~/test_apps/ && sudo./mipi_init.sh && cd ~
- | STEP2: Run the
sudo ~/test_apps/mipi_senser0_showprogram to display the MIPI1 camera |
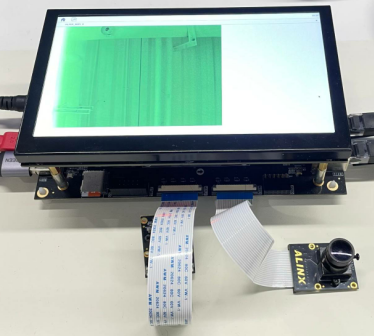
- | STEP3: Run the
sudo ~/test_apps/mipi_senser1_showprogram to display the MIPI2 camera |
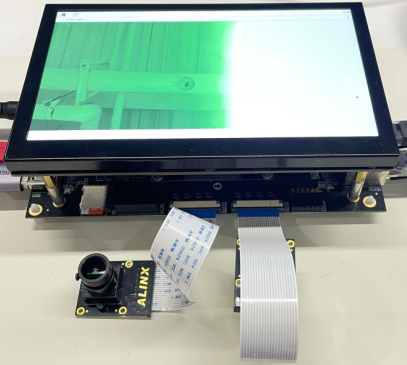
PS: mipi _ senserx _ show program source code is here demo/course_s2/applications/qtProject/mipi_camera. For information on how to compile this program using QTCreator, refer to 4 _ Installing the QT and OPENCV libraries and setting the compilation environment in QTCreator.rst.
You can also use the mouse to run these programs on the MatchBox desktop#
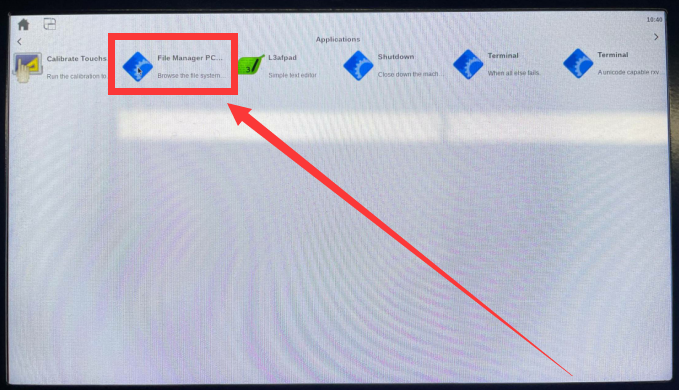
- STEP1: Click the File Manager PC.. Icons:
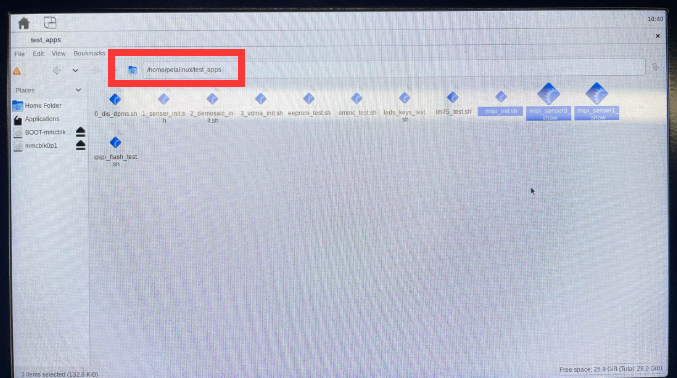
- Double-click the folder to enter the path where the program is located:
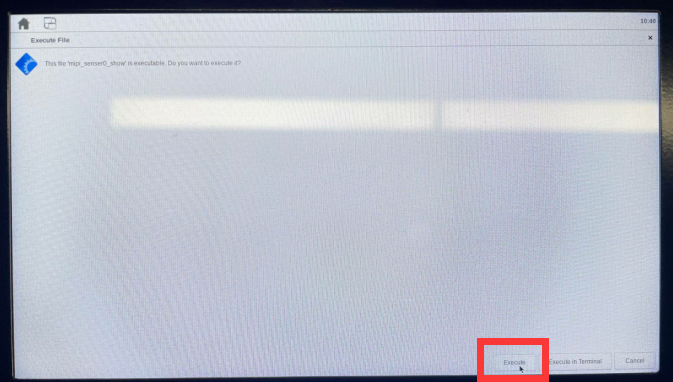
- Double-click the program to run, and click the Execute button in the lower right corner of the single computer after the pop-up window:
- Program execution: